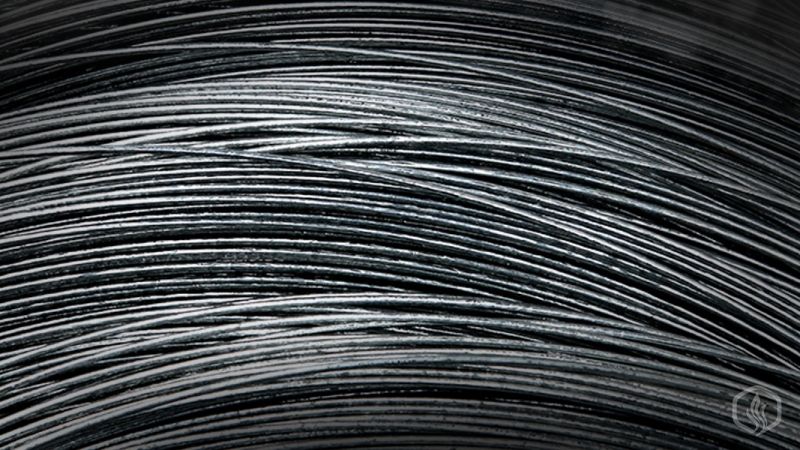
Kanthal is a general trademark term that refers to a family of iron-aluminum-chromium alloys capable of withstanding high temperatures and conduct electricity, having variable resistances with respect to their gauge. It does not oxidize (or rust) rapidly in industrial applications and is also very resistant to a wide range of corrosive elements.
Why Kanthal?
Kanthal can operate at much higher temperatures than Nichrome, its rival. As opposed to Nichrome, it has a higher resistivity, higher surface load, higher yield strength, and decreased density. It can also last up to four times as long as Nichrome wire due to its better oxidation properties and resistance to corrosive environments.

The types of Kanthal wire
There are basically three types of Kanthal wire that are commonly used in the building of micro coils for atomizers: A1, A, and D. A1 is mostly renowned for its high resistivity and capacity to withstand corrosive agents without oxidation, even in hot or sulfuric environments. It also comes with a higher corrosion resistance and an increased hot and creep strength, making it the most popular choice for micro-coils. It also has an increased higher tensile strength in comparison with Kanthal D. Kanthal A1 can withstand temperatures of around 1400 Celsius, A can go to as high as 1350 while D can only withstand 1300 degrees. Kanthal D does not withstand corrosion to sulfuric environments as good as Kanthal A1. We recommend that you only use Kanthal A1 when building your coils.
Kanthal can work with a wide variety of wicking materials like cotton, silica, ekowool, and stainless steel mesh.
Kanthal gauges - everything you need to know
When you want to buy Kanthal wire, it comes in a variety of gauges (AWG) that range from 24 to 34 when we’re talking about micro-coils for your e-cigarette. The relationships between the gauge, diameter and resistance are as follows: The higher the AWG = the smaller the wire diameter = higher resistance per unit of length. Looking from the other perspective, the lower the AWG = the bigger the wire diameter = lower resistance per unit of length. Also, the longer the wire you are using, the bigger its total resistance.
- AWG 24 – Diameter 0.51 mm – Resistance 0.17 Ω / inch
- AWG 26 – Diameter 0.40 mm – Resistance 0.28 Ω / inch
- AWG 28 – Diameter 0.32 mm – Resistance 0.44 Ω / inch
- AWG 30 – Diameter 0.25 mm – Resistance 0.70 Ω / inch
- AWG 32 – Diameter 0.20 mm – Resistance 1.09 Ω / inch
- AWG 34 – Diameter 0.16 mm – Resistance 1.76 Ω / inch
You need to take into consideration that every time you’re building a coil, your resulting atomizer resistance paired with the battery voltage doesn't surpass the continuous discharge rate of your battery. This is why, in order to be on the safe side, it’s always recommended that you vape between the 0.9 and 1.9 Ohms interval and use a powerful 30A battery.

Building your first coil
Building your first coil is something you don’t have to be nervous about, and understand that the first step is always the hardest. Once you get the hang of it and acquire more experience things will become much easier. If the first coil you make does not work, don’t give up – try to understand what went wrong and start over. We do recommend you use a regulated device (like an advanced personal vaporizer) with a built in ohmmeter and fuse so you’re always on the safe side. Mechanical mods are slightly cheaper but they don’t offer any type of protection and since you’re new at building coils you might end up sub-ohming without even knowing it.
For building your first coil you will need a piece of Kanthal wire and something you can wrap it around. A small screwdriver or a drill bit work best as they are household items easily accessible. If you made some research online, mainly on the vaping communities, you’ve probably heard a lot about loops and expressions like “5/4†or “4/3â€. If you don’t understand what they mean, try to imagine a coil positioned horizontally having two continuous loops and the ends of the wire parallel with the ground. This is a 3/2 coil, having three loops on the upper part and two on the lower part. With this in mind you can extend to any type of coil.
To build the micro coil, you will need a calculator to see exactly how many wraps you need in order to reach your desired resistance. We suggest aiming for something around 1.5Ohms, but you can pick your own value, as long as it’s above the 1 Ohm limit. There are plenty of online calculators to help you with this task and there are also mobile phone apps for both iOS and Android.

You will need to keep one end of the wire fixed at one end of the screwdriver or drill bit and with your other hand start wrapping as close as possible to your previous position. Also you need to keep in mind how many loops you need once you made your calculations. When you’re done building your coil you will need to press it gently in order for the loops to be very close together.
If you’re ready with the coil, make sure to trim the excess wire but always leave one side longer than the other because it will help you guide it through the posts. With a pair of tweezers pressing on the coil you will need to oxidize it with a blowtorch until it becomes glowing red. This will take the springiness out of the coil and also get rid of any metallic taste. You are now ready to mount the coil into the posts with one end going into the negative post and one into the positive post. Tighten the screws and make sure your coil doesn't touch the deck. Cut any excess wire from the ends and start pressing the firing button on your mod. If your coil starts glowing red, you’re on the right track.
How to handle hot spots
If your coil doesn't seem to glow uniformly and there are certain “hot†spots on the sides, you will need to press it with your tweezers and adjust it with the screwdriver and drill bit. You are looking for an uniform glow, starting from the center and slowly reaching the ends. When this happens you’re ready to mount your wick. We generally use organic cotton since it’s extremely versatile. You will need to take a piece of cotton and roll it into a long wick, that’s thin enough to pass flush through the coil.
Once you have your cotton mounted, you will need to cut off any excess, but at the same time allow sufficient wick to hold your e-liquid. You will need to start cutting the ends but leave at least one inch of material on each side. Now, using a screwdriver you will need to gently insert the remaining wicking material into the well, being extra careful not to block any of the airflow holes or channels. It’s easier to do this if the cotton is wet so we suggest infusing it with a few drops of e-liquid. Before mounting your top cap it’s recommended that you fire up your mod and see if there is vapor coming out. Once you’re done you’re ready to start puffing.
The same procedure can be followed if you want to build a dual coil or even quad coil configuration. You will always need to take into consideration that every one of your coils needs one end to be connected to the positive post and the other end to a negative post. You also need to understand that all your coils need to be exactly the same (AWG and number of wraps). When using dual coils, the end resistance of your atomizer will be that of your coil divided by two. When you are using quad coils, the resistance will be that of a single coil divided by four. If, for instance you have a 1.8 Ohm coil and use it in single coil mod, your atty will show 1.8Ohms on the ohmmeter. If you use it in dual coil mode, it will show 0.9Ohms... but if you use it in quad coil mode it will give a reading of 0.45Ohm.
Complex coils
Besides regular coils, some people like two twist two or three pieces of Kanthal together using a power drill and come up with twisted coils. At the same time, two twisted coils (winded in different directions – one clockwise and the other counter-clockwise) put side by side and wrapped can create a “zipper†coil. Another variation is the “Clapton†coil that involves wrapping a bigger diameter Kanthal wire around a smaller diameter wire by also using a power drill. These variations can be looked up on the internet under the name of “coil porn†which is a niche part of the vaping community. These complex coils give some of the best vapor and flavor ever experienced and they look spectacular. Do remember that even when having your hands on the best RDA in the world you will not get the ultimate flavor if your coils, setting and juices aren't OK. Vaping is complicated and has multiple variables. Take it step by step


